Two wick hand poured candle in a bowl
Pouring your own large candle is great fun and will help you through the dark and gloomy days of February.
The ingredient list is very simple, again – we are not big fans of overcomplicating things here at City to Cottage. Plus, it burns beautifully and a bonus of having a large bowl once the candle has burned down is a win-win!
If your candle container is more than 5 inches in diameter you’ll need multiple wicks. As our chosen mug is 5.3 inches, we’ll need two candlewicks, each designed for a 2” diameter candle.
Ingredients
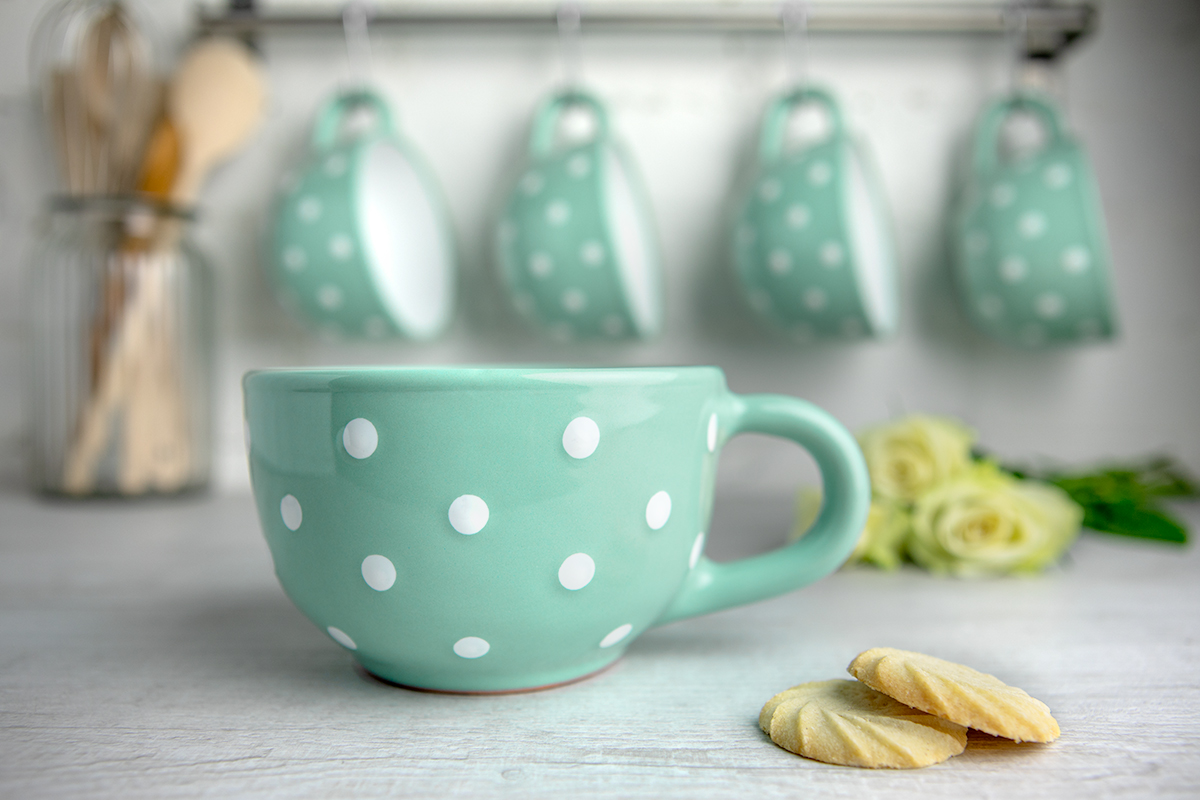
City to Cottage 500ml Soup Mug as your container
2 x 2″ diameter candle wicks
2 wick stickers
2 clothespins
20 oz soy wax flakes
English Pear and Fresia fragrance oil
thermometer
1. Get yourself one of our beautiful Soup Mugs – these are great size mugs that we will now use to serve as a candle holder first, and once you’re finished with them they’ll serve you as your preferred vessel for your morning coffee.
2. Use the wicker sticks to secure your wicks to the bottom of your container. As we’re using two, try and place them towards the edges of the bottom of the mug.
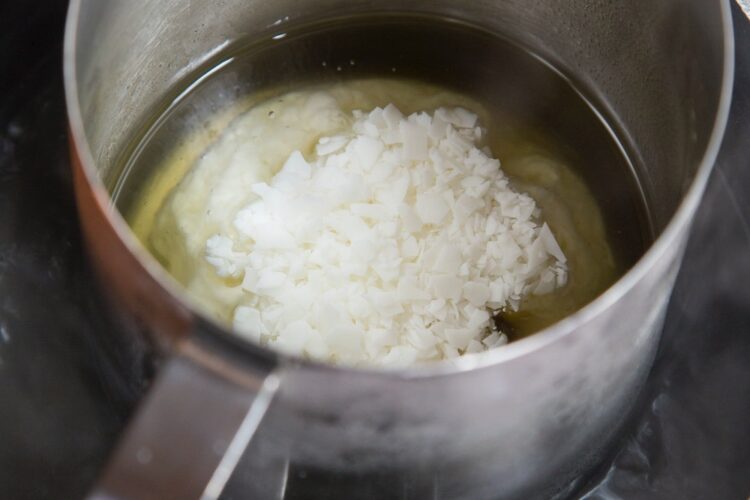
3. Now we melt the wax. For the 17.5 oz of bowl we’ll need 1.19 lbs of wax. We used the Calconic calculator to measure this.
4. Use the double boiler method to melt the soy flakes. Heat on medium to low heat with gentle simmer to reach the melting point of the candle wax. With most container wax soy flakes it is recommended to heat the wax to around 70 degrees but make sure you read the instructions on the box.
5. Wait for it to cool down to 60 degrees, and add your fragrance oil. Most soy wax can take up to 12% of fragrance oil, but the fragrance we used above can go up to a maximum of 10%. We didn’t want our candle to be too fragrant, as it can cause headache, so we went for 7%. Still nice and floral, but not overpowering.
Remember, we’re making a huge candle with up to 50 hours of burn time, so for the 1.19lbs of wax you’ll need 1.4 oz of fragrance oil. To calculate the oil ratio, here’s the Calconic calculator.
5. Once you made sure the fragrance is thoroughly incorporated, pour the scented wax into the mug. Put a clothespin around the wicks to keep them in place. Leave your candle to cool for 1 to 2 hours, then fix the sinkholes and smooth the tops. Kristy from Life-n-Reflection wrote an amazing post on how to troubleshoot common candle making issues.
6. In 2-3 days your candle is fully cured, so you’re ready to cut the wick (leave a quarter of an inch for each wick) and the longer you wait before you burn it, the more intense the scent gets.
Now you’re ready to enjoy your creation and once you used it all up, you’re left with a superb mug!
Will you give this DIY a try?