DIY – Easter egg air dry clay – with 2 super simple recipes!
If you are trying to figure out what the heck to do to keep your little ones entertained, this week we will show you how you can make your own air dry clay.
It took us a couple tries to get the both recipes just right – that’s right, you will get not just one, but TWO recipes to try!- but in the end both turned out great, and today, we are going to show you how easy it is to make your own clay with things you may already have in your kitchen.
For our first recipe, all you’ll need to get started is some corn starch, white glue, vegetable oil or baby oil and lemon juice.
First, we are going to add half a cup of corn starch and then four ounces of glue. You can change these amounts as long as it’s a one to one ratio. Add this mix to a microwave-friendly bowl.
Then mix them together until you have a smooth icing-like consistency and then add your last two ingredients: two tablespoons of oil – we used sunflower oil – and one tablespoon of lemon juice. Give it all a quick mix until all your ingredients are well incorporated.
Now we’re going to pop this in the microwave on HIGH for 30 seconds, give it a quick stir and put it back in for another 30 seconds. After it’s done, take a wooden spoon or spatula and knead it around the bowl until it has a dough like consistency, and finally, we are going to remove our clay and place it on a piece of baking paper that you sprinkle with corn starch, and then gently knead it, sprinkling in more corn starch as you go. Once it stops sticking, you can pick it up and continue in your hands. Once your clay is complete it should have a smooth, creamy texture and form a teardrop when you pull it apart.
That’s it your clay is ready to be moulded by little hands!
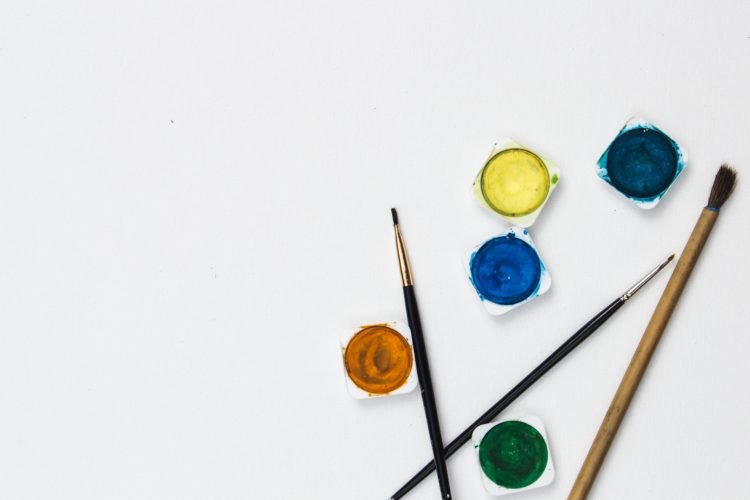
If you’re not going to use it right away, store it in a zip lock bag with a little bit of oil. After you finished your creation you can paint it or decorate it however you would like. It makes a super fun activity that’s sure to keep your kids entertained.
The best part is there’s no baking this clay will harden and 24 to 48 hours!
The second recipe is even more eco-friendly, and you definitely have all these ingredients in your cupboard if you ever bake: one-part sodium bicarbonate, one-part corn starch, one-part salt and one-part flour.
Mix the ingredients and add as much water as you need to form a solid, kneadable consistency. As it dries pretty quick, feel free to add a few more drops of water as you go, or when it becomes a bit more hard or difficult to work with.
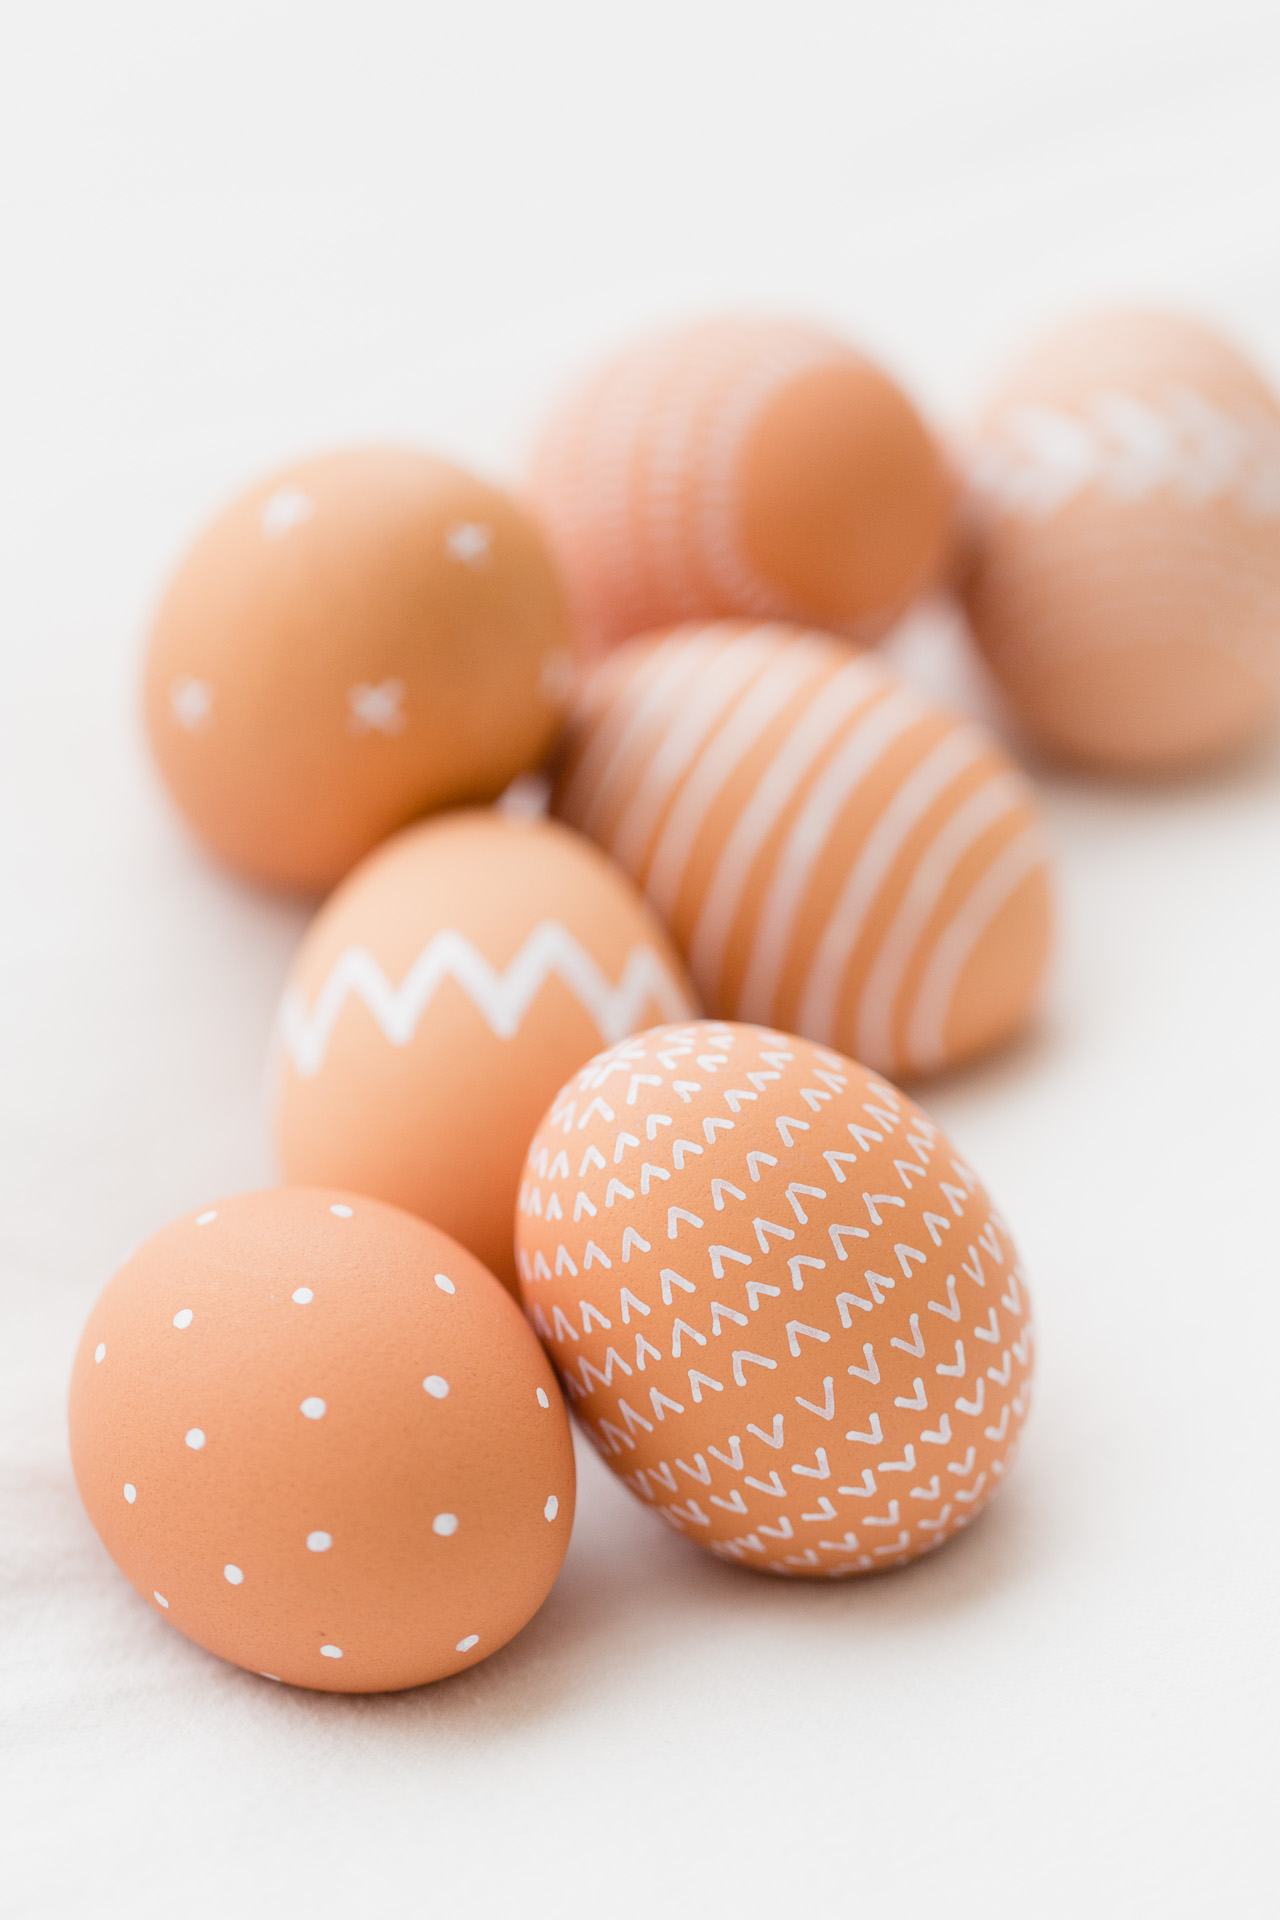
It is so simple to cut some shapes out, or just hand mould some egg shapes – whether they are flat and oval, or actual 3D egg shapes, we are confident they will steal the show this spring.
Leave them to dry for 24 hours, and you can start painting them! It is zero waste, simple and very sustainable that you and your family will cherish for many more Easters to come!